
Notes
Use the notebook editor as a practical workspace for writing, inserting media, drawing, and turning pages into study material.
1What the notebook editor is for
Think of a page as one flexible canvas. Instead of just text, it holds blocks: writing, images, audio, tables, graphs, scans, and drawings, all in the same place.
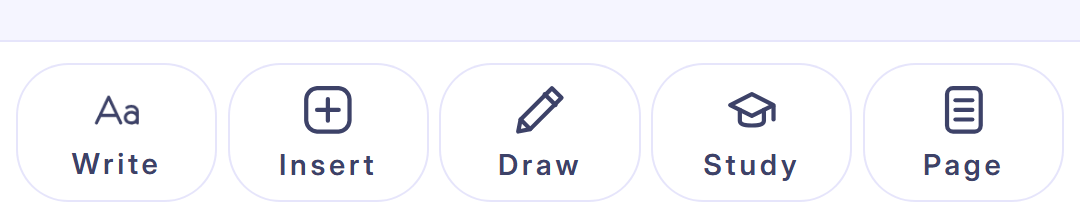
The bottom toolbar has five panels: Write, Insert, Draw, Study, and Page. Each adds a different kind of block, or changes how the page looks.
Studying photosynthesis? Drop a labelled diagram, a one-line definition, and a quick recall question on the same page, no jumping between apps.
2How to open a notebook and page
Getting into the editor takes three taps.
- Open Notes from the main navigation.
- Pick a notebook, or create a new one.
- Open a page, the toolbar is pinned at the bottom, ready to go.
Tap a text block and a quick formatting bar (bold, lists, and so on) appears right above the toolbar, close to where you're typing.
3Write tools
Write controls the structure of your text. Tap Text to drop in a fresh block and start typing.
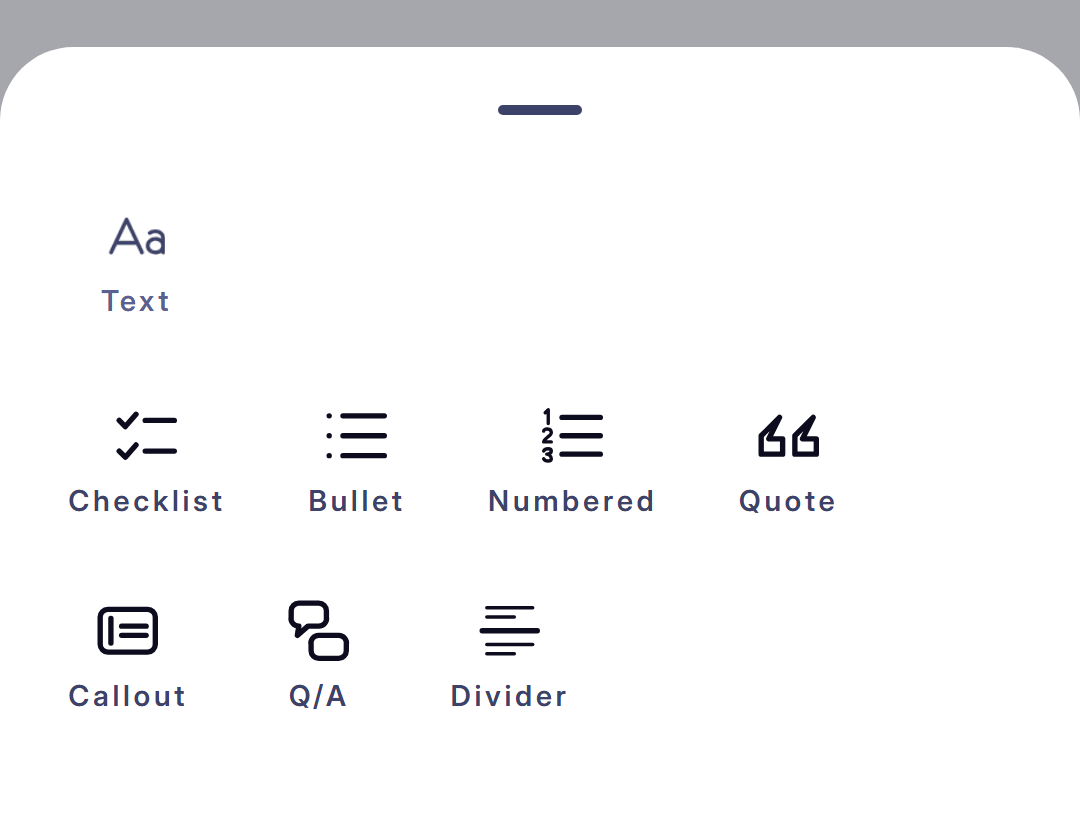
The style chips reshape the selected block: Checklist for a to-do list, Bullet or Numbered for an ordinary list, Quote to set a line off, Callout to make it stand out, Q/A for prompt-and-answer notes, and Divider to split a long page.
Make a Q/A block with “What is osmosis?” on top and the answer below. Later, one tap turns it straight into a flashcard.
4Insert tools
Insert is where a page becomes a real workspace: photos, video, audio, scans, links, tables, charts, and drawings.
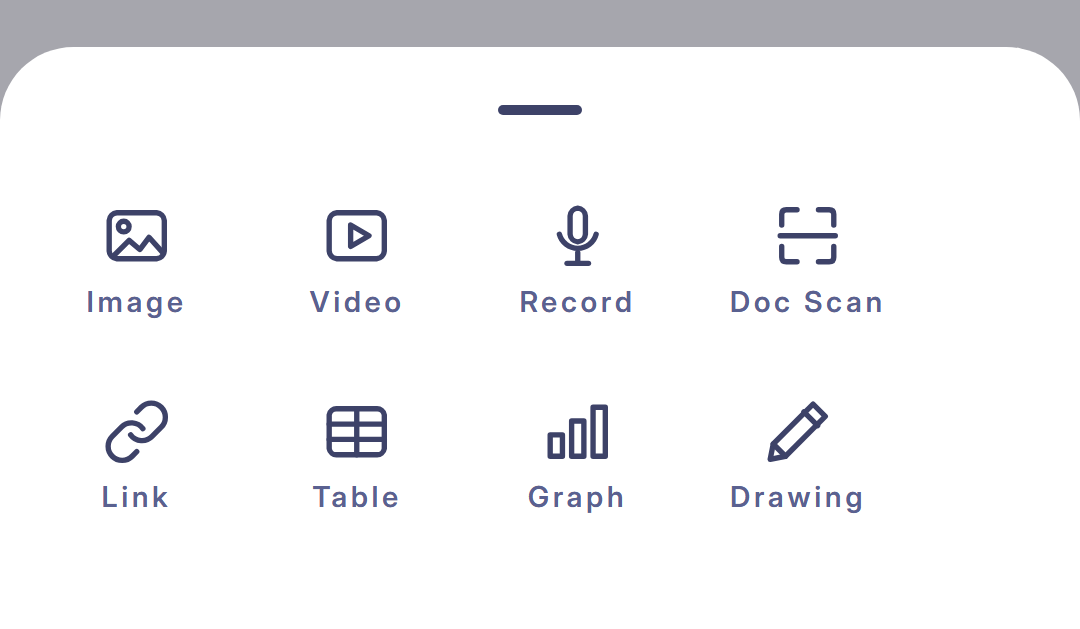
Tap Record for an audio block (tap again to stop), Doc Scan to capture paper straight onto the page, or Link to drop in a source. An image can be rotated and cropped after it lands, so a hurried photo still reads.
Drawing adds a sketch canvas as a block of its own, sitting in the page and scrolling with it. Drag the grip under it to make it taller or shorter when the sketch needs more room.
Snap a worked example from a textbook with Doc Scan and it lands right on the page, no photo app in between.
Need a chart? The graph builder makes a bar, line, or pie view, set a title, edit the values, pick a color, and it drops in as its own block. Tables work the same way, drag a column edge to resize it and color the text in a cell.
5Draw tools
Draw is for marking up a page rather than adding a block. Pen draws freehand, Mark highlights, and Erase removes strokes without touching your content.
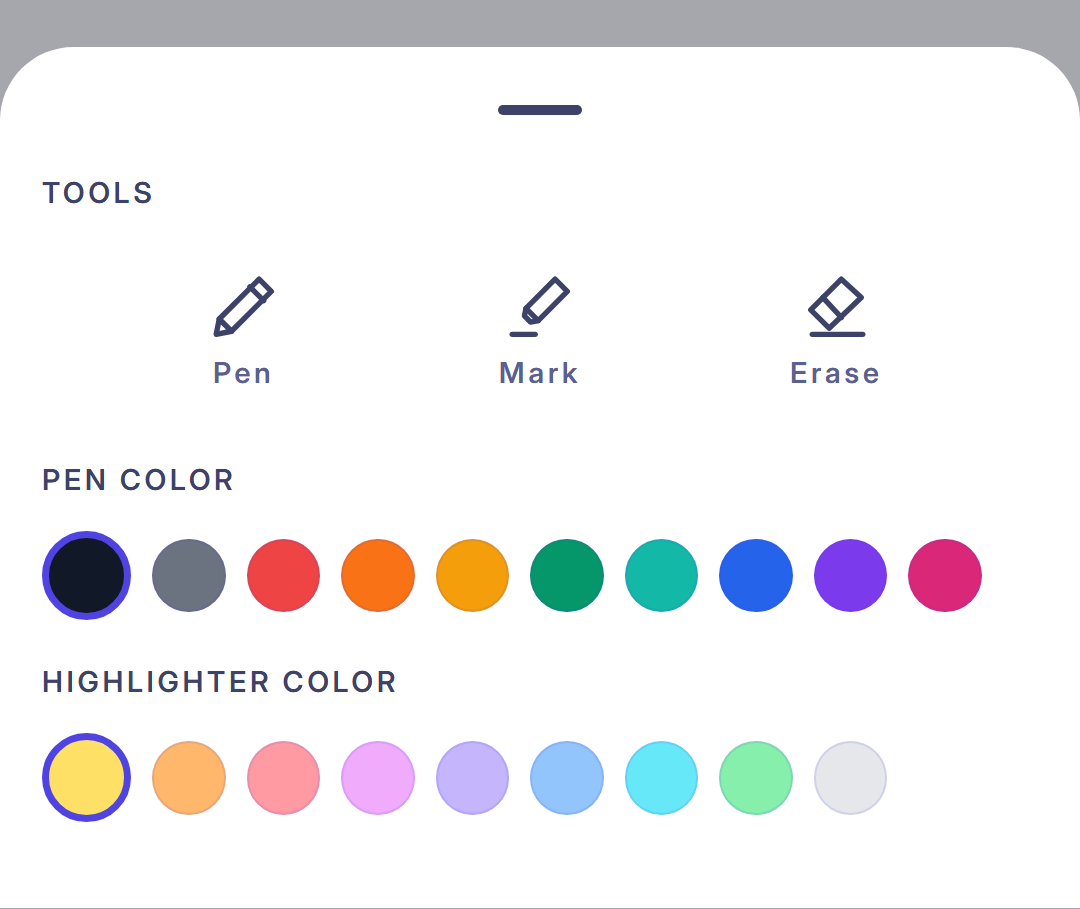
Once you start drawing, a small floating bar follows you with the tool, its color, and a slider for stroke size, so a fine annotation and a broad highlight come from the same three buttons.
This is the layer over the page. A sketch you want to keep in the flow of the writing belongs in an Insert, Drawing block instead, which scrolls with the text around it.
Label a diagram in red pen, then highlight the key line in soft yellow, pen and highlighter keep separate colors, so the markup stays readable.
Slip up? Undo rolls back your last stroke without disturbing the rest of the page.
6Study tools
Study turns a page into revision material. Recall adds a practice prompt right inside the note, Cards pulls flashcards from the page, AI Cards lets Spark draft them for you, and Map turns a structured page into a Focus Map.
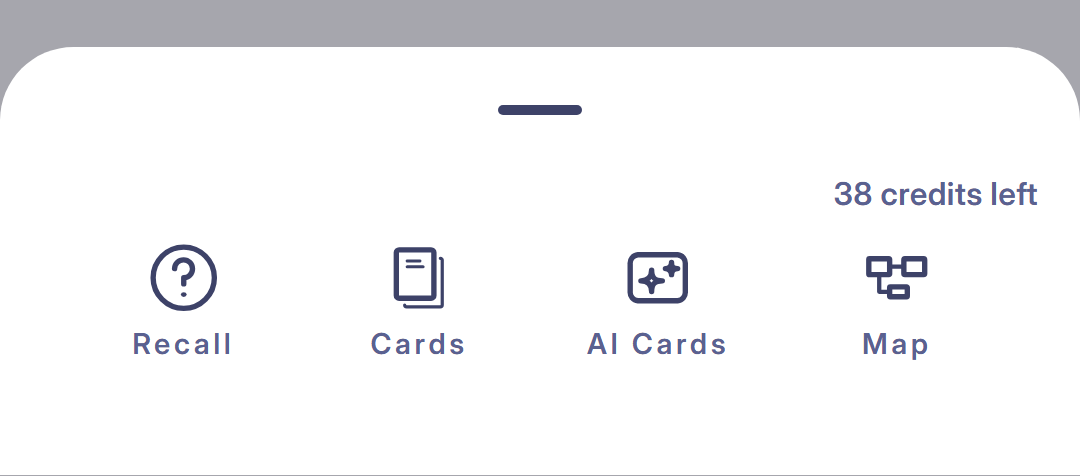
Already wrote out a glossary of terms? Cards turns the whole list into a flashcard deck in a single tap.
7Page tools
Page sets the look of the current page: a Plain, Lines, or Grid background, and a Sans, Serif, or Mono font.
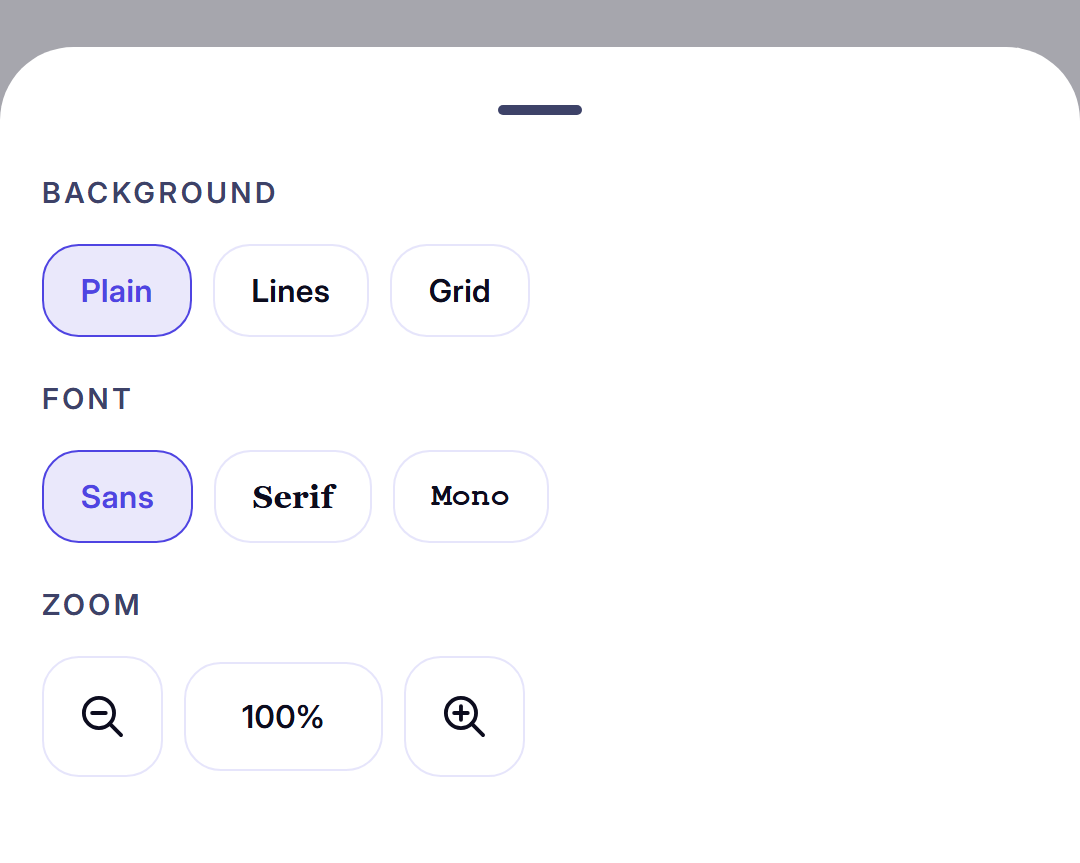
Zoom is here too, and it magnifies the page itself, writing, drawings and annotations together, rather than reflowing the text into a narrower column. Pull it up to work on a detail, push it back down to see the whole page.
Use Lines with Serif for long-form writing, then switch to Grid when you're sketching a diagram or lining up a table.
8Rearranging a page
A page is rarely written in its final order. Tap a block to select it and you get controls for exactly that: move it up, move it down, or delete it.
Blocks move as whole units, so a table, a drawing, or a chart travels with everything in it, and nothing else on the page shifts underneath you.
Capture in whatever order the lecture came out, then reorder afterwards. It is far quicker than trying to write the tidy version first time.
9Sharing a notebook
Notebooks are private by default. To share one, open the notebook menu and tap Share, enter their email and pick a role. Viewer lets them read without changing anything; Editor lets them add pages, write, and annotate alongside you.
Sharing notes with a study partner is one of the fastest ways to fill in gaps you didn't know you had.
10The best way to use it
Capture first, refine later. Get the material down with Write and Insert, mark it up with Draw, then use Study to turn the best parts into cards or maps.
Give each page one job, lecture notes, a worked example, a scan to read, or a recall page. Focused pages are far easier to come back to.